
Note: Using a consistent color can increase brand recognition by more than 80%.
Achieving that perfect, brand-accurate color comes down to one thing: using the Pantone Matching System (PMS). This guide provides the knowledge you need for flawless results.
Why Use Pantone for Acrylic Printing
You need your brand colors to be exact. A slight difference can make a high-end display look cheap. Using the Pantone Matching System (PMS) is the best way to guarantee color accuracy for your logo printing project. It removes guesswork and ensures professional results every time.
Understanding the Pantone Matching System
Think of Pantone as a universal language for color. It was created to solve a common problem in the printing industry: a lack of color standardization. The system gives every specific color shade a unique number. This code ensures your printer knows the exact color you want.
Pantone acts as the bridge between your design and the final product. It eliminates confusion and guarantees consistency.
It assigns a unique code to each color for precise communication.
It ensures your brand color looks the same across different materials.
It provides a physical reference, so you and your printer see the same color.
This system is crucial for global branding. It allows a color to be reproduced accurately anywhere in the world, on almost any surface.
The Challenge of Printing on Acrylic
Printing on acrylic is not like printing on paper. Acrylic presents unique challenges that can alter color appearance. Its surface is non-porous, meaning it does not absorb ink. This property affects how the ink sticks and dries.
Inks can also experience a "color shift" as they cure on the acrylic. The wet color you see during application might look different once it dries completely. The transparency of the acrylic itself can also change how a color looks to the human eye. Using a specific Pantone code tells your printer the final color you expect, allowing them to adjust their process to hit that precise target despite these material challenges.
The Pantone Color Matching Process
Achieving perfect color is a straightforward, step-by-step process. You can guarantee your acrylic displays look professional by following these three key steps. This ensures your vision matches the final printed product.
Find Your Brand's Pantone Color
Your first step is to identify the exact Pantone code for your brand's color. This requires using the right tool for the job. Do not rely on your computer screen for this critical decision.
"Often we get graphics from designers who work only on screen. What they see is not what we see. The screen is RGB, unless it is a fairly expensive graphics quality screen that has been calibrated the color will not be accurate."
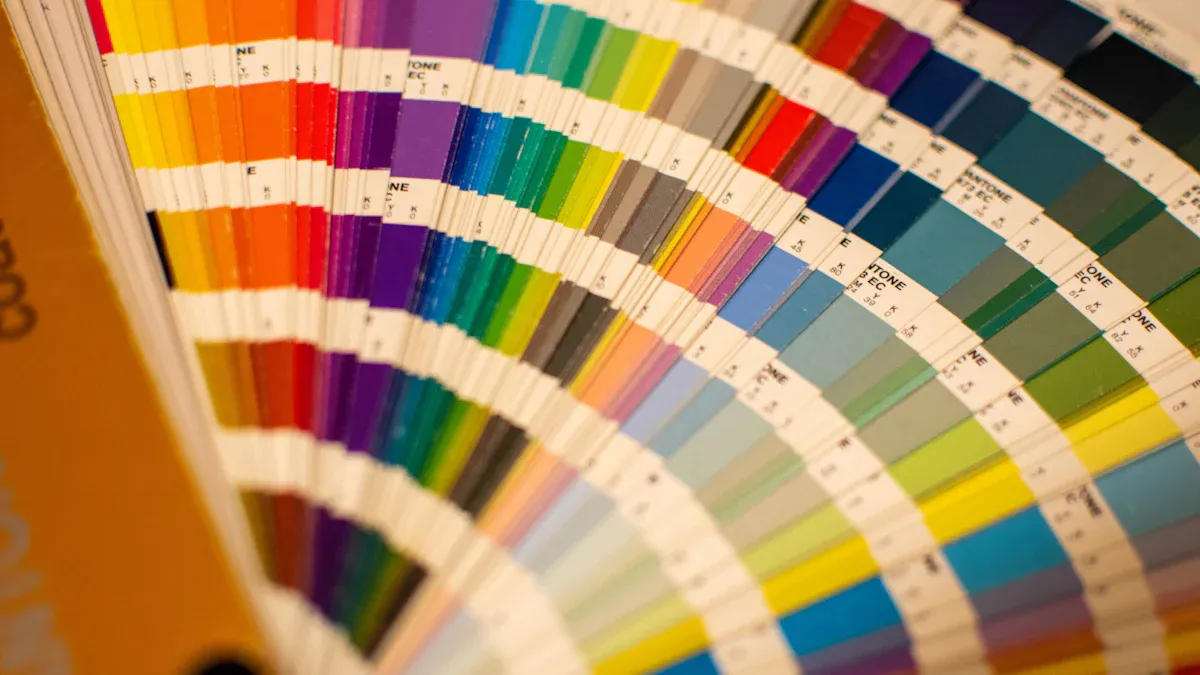
Digital screens show color using an RGB (Red, Green, Blue) light model. They are not calibrated for print, so the color you see will differ from the final ink color. The only way to select a true color is with a physical Pantone Formula Guide. This guide is a collection of handheld fan decks showing all 2,390 market-driven spot colors. It is the global reference for color accuracy.
The guide comes in two main versions: Coated and Uncoated. The paper finish dramatically changes how ink appears.
Feature | Uncoated (U) | |
|---|---|---|
Surface | Matte, porous finish | |
Ink Interaction | Ink sits on the surface | Ink absorbs into the paper |
Color Appearance | Vibrant and bright | Softer and darker |
Since acrylic has a non-porous, glossy surface similar to coated paper, you must always use the Pantone Coated (C) guide for reference. A color like PANTONE 286 C (Coated) will look different from PANTONE 286 U (Uncoated). You need to give your printer the correct "C" code.
Prepare Your Logo File for Printing
Once you have your Pantone code, you must prepare your logo file correctly. A proper file is the blueprint for high-quality Logo printing. Your file must meet two critical requirements:
It must be a vector file. Vector files (with extensions like
.ai,.eps, or.svg) are made of mathematical equations, not pixels. This format allows your logo to be scaled to any size—from a small tag to a large display—without losing any sharpness or clarity. Raster files like.jpgor.pngwill become blurry and pixelated when enlarged.The Pantone color must be set as a spot color. Inside your design software (like Adobe Illustrator or CorelDRAW), your Pantone color needs to be saved as a "spot color" swatch. This embeds the specific Pantone formula directly into the file. It is not a CMYK or RGB conversion. This tells the printer's software to use a single, pre-mixed ink for your logo, guaranteeing a perfect match.
Tip for Designers: ✍️ When saving your file, ensure the swatch for your logo color is designated as a Spot Color and is correctly labeled with its Pantone Coated (C) number.
Communicate with Your Acrylic Printer
Clear communication with your printing partner is the final, crucial step. Do not assume they know what you want. You need to provide them with a clear technical brief.
Before you approve the full order, make sure you discuss the following:
Provide the Exact Pantone Code: Tell them the specific code you selected from the physical Coated guide (e.g., "We need to match PANTONE 185 C").
Confirm Your File: Send them your vector file and confirm they can see the embedded spot color.
Request a Color Proof: Always ask for a "color proof" or "print sample." This is a test print of your logo on a small piece of acrylic. It is your only chance to see, touch, and approve the final color, texture, and finish before the entire batch is produced. This simple step prevents costly mistakes and ensures you are completely satisfied with the result.
Taking the time to review a physical sample protects your investment and guarantees your collectible displays will have the premium, brand-accurate look you expect.
Methods for Acrylic Logo Printing
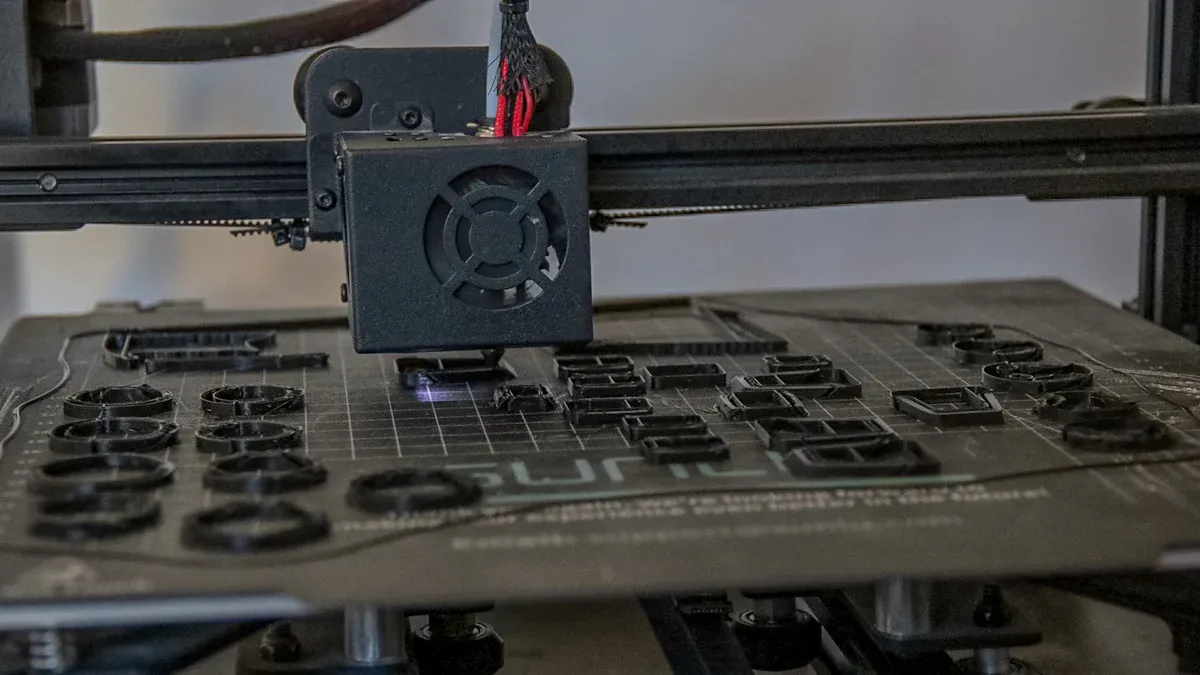
Choosing the right printing method is just as important as choosing the right color. Each technique offers different benefits in terms of durability, cost, and visual quality. Understanding these options helps you select the best fit for your collectible displays.
UV Direct Printing
UV direct printing is the industry standard for premium acrylic displays. This method prints your logo directly onto the acrylic surface. It then uses ultraviolet (UV) light to instantly cure, or harden, the ink. This process is what makes it the top choice for quality and durability.
The UV curing process solidifies the ink, binding it into a robust layer on the acrylic. This instant curing prevents the ink from spreading, which keeps your logo's details sharp and clear. Modern UV flatbed printers offer incredible precision, ensuring your design is reproduced perfectly.
Print Head Model | Maximum Print Resolution |
|---|---|
720 x 1200 dpi | |
600 x 2400 dpi |
Pro Tip: A key feature of UV printing is the ability to apply a white ink underbase. On clear acrylic, this base layer prevents your logo from looking transparent. On colored acrylic, it acts as a blank canvas, making your Pantone colors appear vibrant and true to life.
The final result is an exceptionally durable print.
The cured ink resists fading from sunlight, scratches, and water damage.
It maintains high color vibrancy for years, protecting your brand's integrity.
The waterproof properties prevent peeling or bubbling, even in humid conditions.
For a professional, long-lasting finish that perfectly matches your Pantone color, UV direct printing is the superior option.
Screen Printing
Screen printing is a classic technique that has been used for decades. It involves pushing ink through a mesh screen stencil onto the acrylic surface. You need a separate screen for each color in your logo, which makes the setup process more involved.
The screen printing process includes several steps:
A stencil of your logo is created on a fine mesh screen.
The acrylic is cleaned and placed on a printing press.
Ink is pushed through the stencil onto the acrylic with a squeegee.
The ink is then cured, often through air-drying or heat.
This method is most effective for simple, bold designs with one or two solid colors. While it can use halftones for gradients, it struggles to reproduce the fine details and smooth color transitions that digital printing can achieve. Complex, multi-colored designs also risk slight misalignments between color layers.
The main advantage of screen printing is its cost-effectiveness on large orders. Once the screens are made, the cost per print becomes very low. This method is the best financial choice when you need more than 500 pieces of the same design.
Vinyl Decals
Vinyl decals offer a flexible and DIY-friendly approach to acrylic branding. This method involves printing your logo onto an adhesive vinyl sheet, which is then applied to the acrylic display. For best results on acrylic, you should use a high-quality permanent vinyl. Materials from brands like Oracal or 3M offer excellent adhesion and a 7-year outdoor lifespan.
This option is great for temporary applications or for projects where you want the ability to change the logo later. However, achieving precise Pantone color matching can be a challenge. The final color depends on the vinyl material, the printer, and the inks used. While the colors can be very vibrant, they may not have the same exact finish as direct-to-surface printing.
Applying a large decal without bubbles or wrinkles also requires skill and patience. For a less permanent solution that you can potentially apply yourself, vinyl decals are a viable alternative to professional Logo printing services.
Practical Applications for Collectibles
Applying precise color to your acrylic displays elevates your collection. You can transform a simple case into a professional showcase. This enhances the value and story of your prized items.
Trading Card Slabs and Cases
Your graded trading cards deserve a premium presentation. Custom logo printing on acrylic cases or stands adds a layer of personalization and branding. You can match the logo of a grading company or add your own unique brand identity.
Sellers like 3DPrintNewYork offer personalized slab holders.
You can add your logo to a display stand for a single, high-value card.
A consistent brand color across multiple displays creates a cohesive collection wall.
This detail makes your collection look more organized and professional.
Sneaker Display Cases
You want to protect your valuable sneakers from damage and dust. An acrylic case with your custom logo does more than just protect; it creates a centerpiece. Many cases now offer advanced features.
Brands like Looksee Designs offer cases with engraved themes like "Mamba To Infinity."
Companies such as EXPO Pro use NanoLeaf™ RGB lights for over 1600 color options.
AlienLight displays feature animated lighting you can control with a remote.
For maximum preservation, you should choose a case made from UV-protective acrylic. This material acts as a shield against harmful light. It prevents the vibrant colors of your sneakers from fading and stops materials from yellowing over time.
Action Figure and Statue Displays
Your detailed action figures and statues tell a story. A custom acrylic display case can complete that narrative. You can use Logo printing to add the emblem of a superhero or the title of a film franchise directly onto the case. This branding connects the figure to its universe. It turns a simple display into a museum-quality exhibit, making your collection feel more immersive and valuable. A clear, brand-accurate logo provides the perfect finishing touch.
You can achieve a perfect, brand-accurate logo on your acrylic displays. You just need to follow a few key steps for professional results.
Remember these critical takeaways:
Select your color using a physical Pantone Coated (C) guide.
Prepare a vector file with the Pantone color set as a spot color.
Choose UV direct printing for the highest quality and durability.
Communicate clearly with your printer and always request a sample.
Following this process turns a simple case into a premium showcase. You elevate your collection's presentation and enhance its overall value.
FAQ
Why can't I just use CMYK for my logo?
CMYK printing mixes four colors (Cyan, Magenta, Yellow, Black) on the spot. This can cause color shifts between print runs. You should use a Pantone spot color because it is a single, pre-mixed ink. This guarantees your brand's exact color every single time.
What if my logo is a JPG or PNG file?
You need a vector file for high-quality printing. A designer can trace your JPG or PNG to create a vector version (.ai, .eps, .svg). This new file will print clearly at any size without becoming blurry or pixelated, ensuring a professional look.
Can you print logos on colored acrylic?
Yes, you can print on colored acrylic. For the best result, you should ask your printer to apply a white ink underbase first. This base layer makes your Pantone color look vibrant and true, preventing the acrylic's color from affecting your logo's appearance.
Is UV printing always the best choice?
UV printing offers the highest quality, durability, and color accuracy for most projects. However, you might consider screen printing for very large orders (500+ pieces) with a simple, one-color design. It can be more cost-effective at high volumes.
