

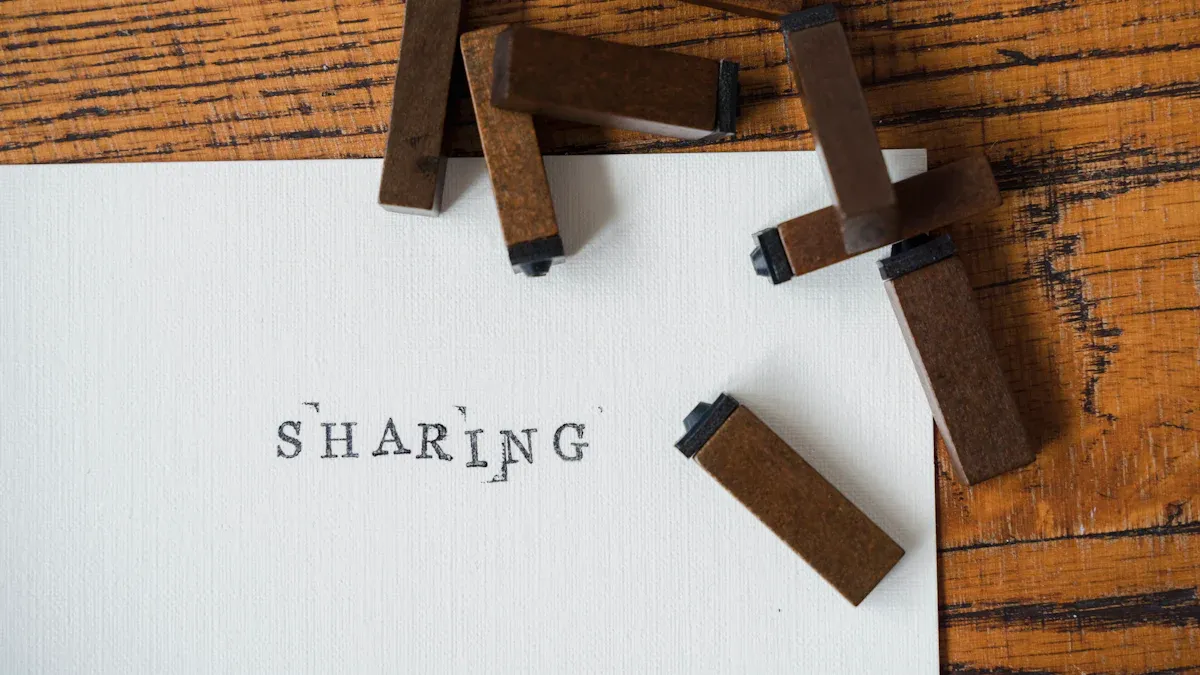
Forgot your acrylic block for your new clear stamps? No problem! You can get crisp, clear images using items you already have around your house. This simple diy hack saves you time and money, making crafting more accessible.
You are part of a huge creative movement! The craft supplies market is projected to reach an incredible USD 64.95 billion by 2035.
This collection of clever alternatives to acrylic blocks will help you get the best results with every stamp. Let's explore another great diy hack to get you started.
Everyday Items for Clear Stamps
You can find the perfect stamping tool right in your own home. Many everyday objects have the flat, rigid surface you need. These items work best for your small to medium clear stamps. Let's look at some fantastic options you probably already own.
Glass Jars and Drinkware
Your kitchen cabinets are a treasure trove of potential stamp blocks. The flat bottom of a drinking glass, a mason jar, or even a small spice jar works wonderfully. This simple diy hack gives you great control.
Follow these easy steps:
Choose a jar or glass with a clean, flat bottom.
Press your stamp firmly onto the glass surface. The stamp will cling naturally.
Ink your stamp as you normally would.
Press the stamp down onto your paper with even pressure for a crisp image.
Plastic CD and DVD Cases
Do you have old CD or DVD cases lying around? You can turn that forgotten plastic into a fantastic stamping tool. The clear, flat surface of a standard case is ideal for positioning your stamp precisely. These cases are especially great for standard-sized photopolymer stamps.
Tip: A standard DVD case gives you a generous surface area to work with. Check out these typical dimensions:
Characteristic | Value |
|---|---|
Thickness | 14mm |
Measurement | 5 3/8 x 7 1/2 inches |
Material | Polypropylene |
Suitability | Standard-sized stamps |
Wood Blocks and Picture Frames
Look around for other flat, sturdy items. A small wood block from a child's toy set or a crafting project can be a perfect mount. Even the glass from a small picture frame works in a pinch. This diy hack opens up a world of creative possibilities.
One crafter found a fun and playful solution using a popular game.
"Anyone up for a game of Jenga?...Oh, wait, I used all of my Jenga blocks to mount stamps on! :D"
This shows how you can repurpose almost anything. Just grab a block, attach your stamp, and you are ready to create beautiful designs.
Tape Hacks for Using Cling Mounted Stamps
What if your stamp is larger or you're working with a cling mounted stamp? Packing tape is your new best friend. This method is fantastic for larger stamps that need a bigger, easy-to-grip surface. This simple diy hack turns almost any object into a functional stamp block.
The Packing Tape Mount
You can create a temporary mount in just a few seconds. This technique gives you a sturdy handle for even pressure.
Tear off a piece of wide packing tape that is larger than your
cling mounted stamp.Lay the tape sticky-side-up on your work surface.
Press the back of your
cling mounted stampfirmly onto the sticky side of the tape.Wrap the ends of the tape around a sturdy, easy-to-grip object. A small book, a block of wood, or a thick piece of cardboard works perfectly.
Ink your
stampand press down to create your image. Your makeshift block gives you great control.
Best Practices for Cling Stamps
Working with cling stamps is a bit different from using photopolymer clear stamps. Knowing the difference helps you get the best results. A cling mounted stamp is typically made of red rubber on a foam cushion, while photopolymer stamps are completely transparent.
Check out this quick comparison:
Feature | Cling Mounted Stamps | Photopolymer Clear Stamps |
|---|---|---|
Material | Red rubber with a foam cushion | Clear, flexible photopolymer |
Appearance | Opaque (red or gray) | Transparent |
Visibility | You cannot see through the | You can see through for precise placement |
Durability | Very durable and long-lasting | Can yellow over time with UV exposure |
Adhesion | Strong cling from a foam backing | Natural cling that can weaken over time |
Following a few best practices will keep your cling stamps in top shape. Here are some great tips for using cling stamps.
Keeping Your Stamps Clean Ink and tape residue can build up. You should clean your cling mounted stamp after each use to keep it ready for the next project.
Stamp Shammy: This is a great tool for wiping away ink. You just need to keep it moist with water.
Stamp Scrubber: For stubborn ink, a scrubber pad works wonders. You can use it with a bit of water or a special stamp cleaner.
Microfiber Cloth: A simple microfiber cloth also does the job well for general cleaning.
For a deeper clean to remove stubborn ink from the detailed grooves of a cling mounted stamp, you can follow these steps:
Use a piece of scotch tape to lift off any surface dust or lint.
Dip an old toothbrush in a mixture of mild dish soap and water.
Gently scrub the surface of the
cling mounted stamp.Blot the
stampon a dry paper towel and let it air dry completely.
Preserving the 'Cling' Has your cling mounted stamp lost some of its stickiness? Dust and oils from your hands can reduce its ability to cling. Luckily, you can easily restore it. The process is just like cleaning the back of the stamp.
Spray a little stamp cleaner onto a lint-free rag. Place your
cling mounted stampwith the cling side down onto the rag. Rub it a few times to clean off any residue.
This simple action removes the dirt and brings the cling right back. Your collection of cling stamps will feel like new again, ready for all your creative ideas.
The Direct Press Technique
Sometimes the simplest tool is the one you always have with you: your own hands! The direct press technique is perfect for those moments when you want to stamp something quickly without any extra tools. This is the most minimalist approach to stamping, and you can get amazing results with just your fingertips or a common office supply. Let's dive into how you can master this method.
The Finger-Press for Photopolymer Stamps
This method works best for small, detailed photopolymer stamps. Think of tiny art designs or small custom logos. Because photopolymer stamps are completely transparent, you can see exactly where you are placing the image. You just need to apply pressure directly with your fingers.
Ready to try it? For the best impression, keep a few things in mind.
Pro Tips for a Perfect Press: 📝
Place a cushioned surface, like a mousepad or a stack of paper, under your project. This helps the stamp make even contact.
Apply gentle and even pressure with your fingers across the back of the stamp. Avoid pressing too hard, as this can distort the design and cause a blurry image.
Always do a test on scrap paper first! This helps you find the right amount of pressure needed for a crisp result.
Using a Pen or Marker Barrel
What if the stamp is too tiny for your fingers or you want to create a repeating pattern? Grab a pen or a marker! This technique gives you a small, easy-to-grip handle for excellent control. It's a fantastic solution for very small clear stamps.
Here is how you can do it:
Choose a small stamp.
Wrap the flexible stamp around the barrel of a pen or thick marker. The natural cling of the photopolymer stamps will hold it in place.
Ink the stamp as usual.
Roll or press the pen barrel onto your paper to transfer the image.
This simple trick is perfect for creating borders, polka dots, or other fun patterns. It turns a basic office supply into a precision stamping tool, proving you don't need fancy equipment to be creative.
You now have several great ways to stamp without a block. Using a glass jar bottom or an old CD case are simple and effective solutions. Your home is full of creative tools waiting to be discovered.
Look at everyday objects with a new, creative eye! You can repurpose many items for fun projects:
Create a tiny mossy terrarium in a recycled jar.
Turn plastic containers into unique keychains.
Use old magazines to make 'ransom' note art.
Go ahead and try these methods. We would love to hear from you! Share your favorite diy hack for block-free stamping in the comments below. 🎨
FAQ
Can I really just use my fingers to stamp?
Yes, you definitely can! This is called the finger-press technique. It works great for small photopolymer stamps. You can see exactly where you are stamping. Just remember to use gentle, even pressure for the best results. Your fingers make a surprisingly good tool! 🖐️
What is the easiest household item to start with?
A glass jar or an old CD case are fantastic starting points. They have flat, smooth surfaces that your stamps will cling to easily.
Quick Tip: Make sure the surface is clean and dry before you press your stamp on it. This helps the stamp stick properly.
How do I clean my stamps after using these hacks?
Cleaning is simple. You can wipe your stamps with a damp cloth or a stamp shammy right after use. For a deeper clean, use a little mild soap and water. Always let your stamps air dry completely before storing them away.
Will these DIY methods damage my stamps?
No, these methods are perfectly safe for your stamps! Both photopolymer and cling stamps are durable. Just be gentle when applying and removing them from surfaces. Avoid using anything with a sharp or very rough texture to prevent accidental scratches or tears.
See Also
Debunking Acrylic Tray Myths: Simple DIY Projects for Creative Solutions
Acrylic Blocks Explained: Understanding Their Definition, Uses, and Features
Innovative Uses for Acrylic Tabletop Stands in Display Showcases
Choosing and Caring for White Acrylic Trays: A Comprehensive Guide
Understanding Recycled Acrylic (r-PMMA): Process, Definition, and Practical Applications
