

You can create stunning, personalized home decor without special equipment. This guide shows you a simple DIY method. You will use clear sticker paper to make beautiful acrylic photo blocks. This project taps into the growing trend for unique items that hold emotional value.
Materials You Will Need 📝
A blank acrylic block
Clear full-sheet sticker paper (inkjet or laser)
Your home printer
A squeegee or credit card
How Professional Acrylic Photo Blocks Are Made
Before you start your DIY project, it helps to understand how professionals create these beautiful items. They use advanced techniques to produce gallery-quality acrylic photo blocks. Knowing this will help you appreciate the simple magic of the sticker paper method.
Direct Printing and Face-Mounting
Professionals mainly use two methods: direct printing and face-mounting. Direct printing uses UV-cured inks applied straight onto the acrylic. Face-mounting involves printing a photo on high-quality paper first. Then, they bond it to the back of the acrylic using a special, permanent adhesive like Facemount. This process creates a stunning unique depth.
Each method offers different results.
Feature | Direct UV Printing | Face Mount Printing |
|---|---|---|
Image Quality | Good, but colors can be less vibrant. | Superior sharpness and color vibrancy. |
Durability | Very durable and scratch-resistant. | Less durable if the seal is broken. |
Appearance | A modern, flat look. | A luxurious, high-end appearance. |
Cost | More cost-effective. | More expensive due to multiple steps. |
The DIY Sticker Paper Method
You can achieve a similar premium look without expensive equipment. The DIY sticker paper method is a fantastic and accessible alternative. This technique creates a wonderful 3-D effect that makes your image pop.
Note for Success 💡 Your final result depends on your materials. Using a quality printer and clear sticker paper, like the tear-resistant sheets from Neato Labels, will give your acrylic glass photo blocks a professional finish.
This simple process lets you make custom photo acrylic blocks in minutes. While these homemade acrylic glass photo blocks are not weatherproof like professionally printed ones, they are perfect for creating stunning indoor displays and heartfelt gifts.
DIY Printing and Application
Now you are ready for the fun part. This section guides you through printing your photo and applying it to the block. Precision is key, so take your time with each step to get a flawless result.
Step 1: Prepare Your Photo
A great final product starts with a well-prepared digital image. You need to resize and mirror your photo before printing.
First, you must mirror, or flip, your image horizontally. You will apply the sticker to the back of the acrylic, so flipping the image ensures it looks correct when viewed from the front. You can use free online tools for this task.
Fotor: This tool offers a free online mirror image generator for JPG and PNG files. You can flip your image horizontally or vertically and make other edits.
ResizePixel: This simple, mobile-friendly tool lets you flip various image types, including JPG, PNG, and GIF, without losing quality.
Next, you need to set the correct resolution. For high-quality small prints, your image should have a resolution of at least 300 DPI (Dots Per Inch). This setting ensures your printed photo looks sharp and clear. When you are ready to save, choose a high-quality JPEG format. A quality setting of 10 in Photoshop or 90% in Lightroom works well.
Finally, you can print your mirrored image onto the clear sticker paper. Use these printer settings for the best results:
Load one sheet of clear sticker paper into your printer.
Open your printer settings on your computer.
Change the paper type setting to 'Glossy Photo Paper' or 'Transparency'. This tells the printer to use the right amount of ink.
Set the print quality to 'Photo' or 'Best'.
Print your image. Let the ink dry completely before you touch it.
Step 2: Clean the Acrylic Block
A clean surface is essential for a bubble-free application. Dust, fingerprints, or smudges can get trapped under your sticker.
Safe Cleaning Solution 🧼 The best and safest way to clean your acrylic block is with a simple mixture. Just add a tiny drop of dish soap to a bowl of water. Avoid using alcohol-based cleaners, as they can cause tiny cracks, called crazing, on the acrylic surface.
Use a soft, lint-free microfiber cloth to wipe the block. Microfiber cloths are designed with ultra-fine fibers that trap dust without scratching the surface. Do not use paper towels or rough rags, as they can leave behind lint and create small scratches. Wipe the surface where you will apply the photo and let it air dry completely.
Step 3: Apply the Sticker
This step requires a steady hand. Working slowly will help you avoid air bubbles and create beautiful acrylic glass photo blocks.
Peel a Small Section: Carefully peel back about one inch of the sticker’s backing paper along one of the shorter edges. Avoid touching the sticky surface with your fingers.
Align the Edge: Position the exposed sticky edge onto the clean surface of the acrylic block. Make sure it is perfectly straight and aligned with the edge of the block.
Squeegee the Sticker: Take your squeegee or credit card. Hold it at a 30-degree angle to the block. Press down firmly and smoothly push the squeegee across the sticker. This initial press creates a strong bond.
Continue Application: Slowly pull away the rest of the backing paper with one hand. At the same time, continue to push the squeegee across the sticker with your other hand. Use overlapping strokes to ensure you do not miss any spots. This technique pushes out air as you go.
Check for Bubbles: After the sticker is fully applied, inspect it for any small air bubbles. If you see any, you can often push them toward the nearest edge with your squeegee. For a stubborn bubble, you can poke it with a tiny pin and then smooth the area down. Small bubbles may even disappear on their own over a couple of weeks.
Pro Tip: The Wet Application Method For a truly professional finish on your acrylic photo blocks, you can try the wet application method. Lightly mist the acrylic surface with a solution of water and one drop of dish soap. This allows you to slide the sticker into the perfect position before it sticks. Then, use your squeegee to push the water and air out from under the sticker.
Once your photo is applied, let your new acrylic glass photo blocks cure for 24 hours. This allows the adhesive to reach its maximum strength, ensuring your photo stays put for years to come.
Displaying Your Acrylic Glass Photo Blocks
You have created a beautiful piece of decor. Now you can find the perfect spot for it. The right placement and lighting will make your photo’s colors pop and turn your block into a true centerpiece.
Use Light to Enhance Color
Light plays a big role in how your photo looks. The thick acrylic captures light, making the image appear vibrant and deep.
Lighting Tip 💡 Place your block near a window with indirect sunlight. Direct sun can cause fading over time. For artificial light, choose LED bulbs. Unlike fluorescent lights, LEDs do not produce damaging UV rays. You can also use small, targeted spotlights to highlight your photo and draw attention to its details.
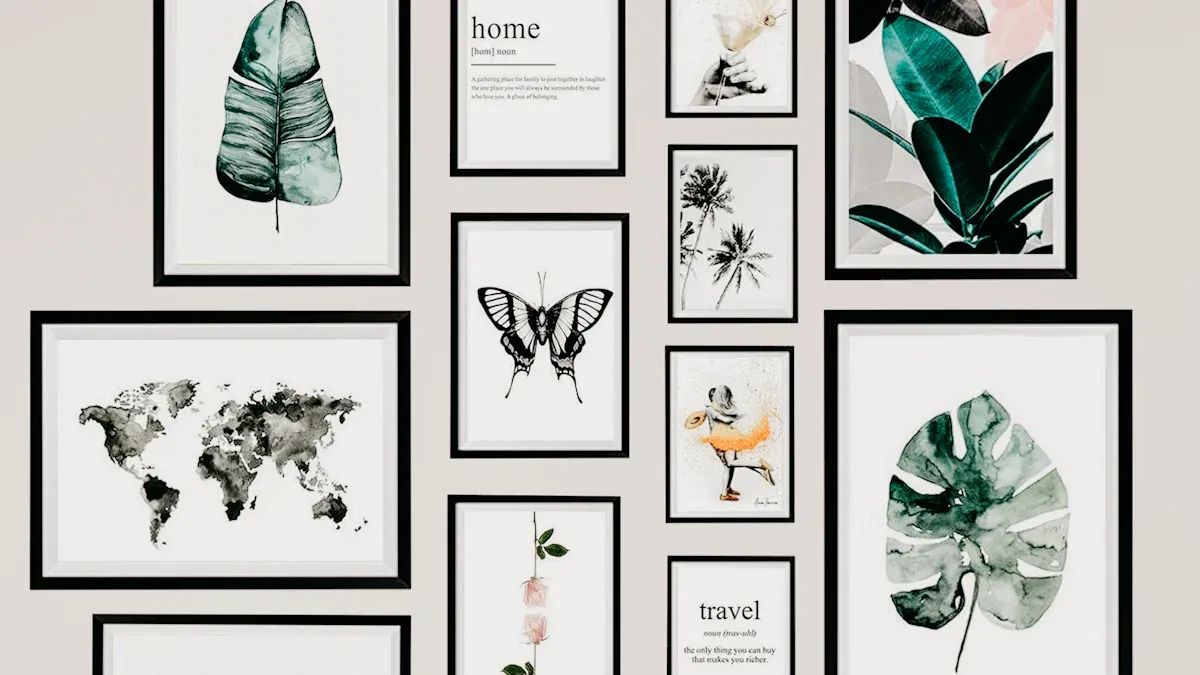
Create a Modern Grouping
Your acrylic glass photo blocks offer a modern twist on traditional photo frames. You can create an eye-catching display by grouping them.
Mix It Up: Combine blocks of different sizes and orientations. Place a large photo in the middle and surround it with smaller ones.
Use the Rule of Odds: Arrange your photos in odd numbers, like a group of three or five. This creates a balanced and visually pleasing look.
Add Other Items: You can display your photos on a shelf or mantel. Mix them with plants, books, or candles for a curated, personal touch.
Ideas for Gifting
These custom blocks make wonderful personalised photo gifts. They are a unique way to preserve special memories for your loved ones. You can give them for many occasions.
Milestones: Celebrate birthdays, anniversaries, and graduations.
Holidays: They are perfect for Mother's Day, Father's Day, or Christmas.
Weddings: Gift a block to newlyweds with a photo from their special day.
The freestanding design of acrylic glass photo blocks makes them an easy and thoughtful present for anyone.
You now have the steps to create beautiful decor. The process is simple. You print your image on clear sticker paper, clean the block, and carefully apply the photo. This DIY project is an easy way to make modern acrylic photo blocks. It offers a unique method to display your photos and create gifts that people will love. Start your first project today and turn your favorite memories into stunning keepsakes.
FAQ
What kind of printer works best for this project?
You can use either an inkjet or a laser printer. The most important thing is to match your sticker paper to your printer type. Using the wrong paper may cause the ink to smudge or not adhere correctly.
Can I use regular photo paper instead of sticker paper?
No, this method requires clear sticker paper. The transparent material lets light pass through the acrylic block. This creates the signature depth and vibrant look. Regular paper would block the light and hide the 3D effect.
How do I remove the sticker if I make a mistake?
The sticker's adhesive is permanent, so removal is very difficult.
Quick Tip 💡 The wet application method gives you more time to slide the sticker into the perfect position. This helps you avoid mistakes before the adhesive sets.
Where can I find blank acrylic blocks?
You can find blank acrylic blocks at several places.
Online marketplaces like Amazon or Etsy
Local craft stores
Specialty plastic suppliers
They are available in many different sizes to fit your project needs.
See Also
Acrylic Blocks: Understanding Their Definition, Features, and Diverse Uses
Innovative Display Ideas: Utilizing Acrylic Table Top Stands Creatively
Transform Your Home: Ten Clever Styling Tips for Small Acrylic Trays
Choosing and Maintaining White Acrylic Trays: A Comprehensive Guide
Debunking Acrylic Tray Myths: Simple DIY Solutions and Creative Ideas
